Hey garden friends! If you’ve ever thought about growing your own garlic but hesitated because you“don’t have a green thumb,”let me tell you—this is the perfect veggie to start with. Garlic is low-maintenance, super rewarding, and there’s nothing quite like sniping fresh garlic scapes for pesto or pulling up a bulb of homegrown garlic to add to your pasta sauce. No fancy tools, no complicated techniques—just a little patience and the right timing. Let’s break down the entire process, step by step, so you can grow your own garlic this season!
First Things First: Pick the Right Garlic (Not Grocery Store Garlic!)
I made this mistake my first time growing garlic: grabbing a bulb from the grocery store. Spoiler alert—it didn’t work. Most grocery store garlic is treated with chemicals to prevent sprouting (which is great for storage, bad for planting). Instead, you need seed garlic—cloves specifically grown for planting.
There are two main types of seed garlic to choose from, and your climate will dictate which one works best:
Hardneck Garlic: Perfect for cold climates (USDA Zones 3-7). It grows a tall, curly scape (that’s the edible shoot—trust me, you’ll want this!) and produces fewer but larger, more flavorful cloves. My faves:‘German White’ and ‘Music’ (great for roasting!). Hardneck garlic has a shorter storage life (3-6 months) but tastes way better.
Softneck Garlic: Ideal for warmer climates (Zones 5-10) or container gardening. No scapes, but it produces more cloves per bulb and stores forever (6-12 months!). It’s the garlic you usually find in grocery stores, but as seed garlic, it’s way hardier. Try ‘California Early’ or ‘Silverskin’—perfect for braiding and keeping in your pantry.
When to Plant Garlic: Timing Is Everything
Garlic needs a little cold “nap” (called vernalization) to grow big, plump bulbs. That’s why fall planting is king for most regions. Here’s a quick cheat sheet for when to plant based on your zone:
Zones 3-7 (Cold Winters): Late September to early November—4-6 weeks before your first hard frost. This gives the cloves time to grow roots before winter, then they’ll pop up as soon as the soil thaws in spring.
Zones 8-10 (Mild Winters): Late October to December. If your winters are super mild (no frost), pop the seed garlic in the fridge for 4-6 weeks first to simulate the cold period—this trick works every time!
Zones 1-2 (Super Cold): Spring planting (early March to April, as soon as the soil thaws). Stick with early-maturing hardneck varieties—they’ll grow fast before the summer heat hits.

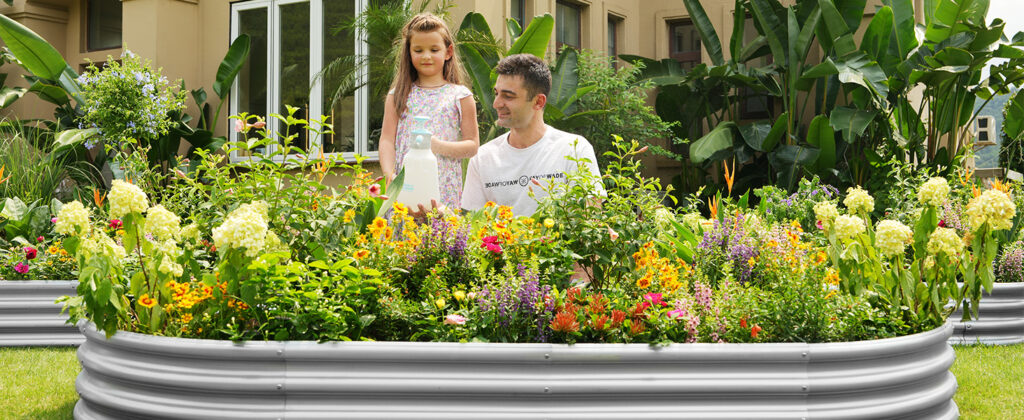
Prep Your Soil & Containers (Even Balconies Work!)
Garlic loves sunny spots (6+ hours of direct sun daily) and well-draining soil. No backyard? No problem—garlic grows great in pots, planters, or raised beds.
For Raised Beds/In-Ground Gardens
Start by loosening the soil to 8-10 inches deep with a garden fork (no need for a tiller!). Mix in 2-3 inches of compost or well-rotted manure—garlic is a light feeder, but this gives it a little nutrient boost. Avoid heavy clay soil? Add a handful of perlite or coarse sand to improve drainage (garlic hates sitting in wet soil—it’ll rot!). Rake the soil smooth, then create rows 12-18 inches apart.
For Containers/Balconies
Grab a pot or planter that’s at least 8 inches deep (12 inches is better) with drainage holes (critical!). Fill it with a high-quality potting mix (I use one with compost and perlite)—avoid garden soil, which gets compacted in pots. Leave 1-2 inches of space at the top for watering.
Planting Garlic: Super Simple Steps
Now the fun part! Let’s get those cloves in the ground:
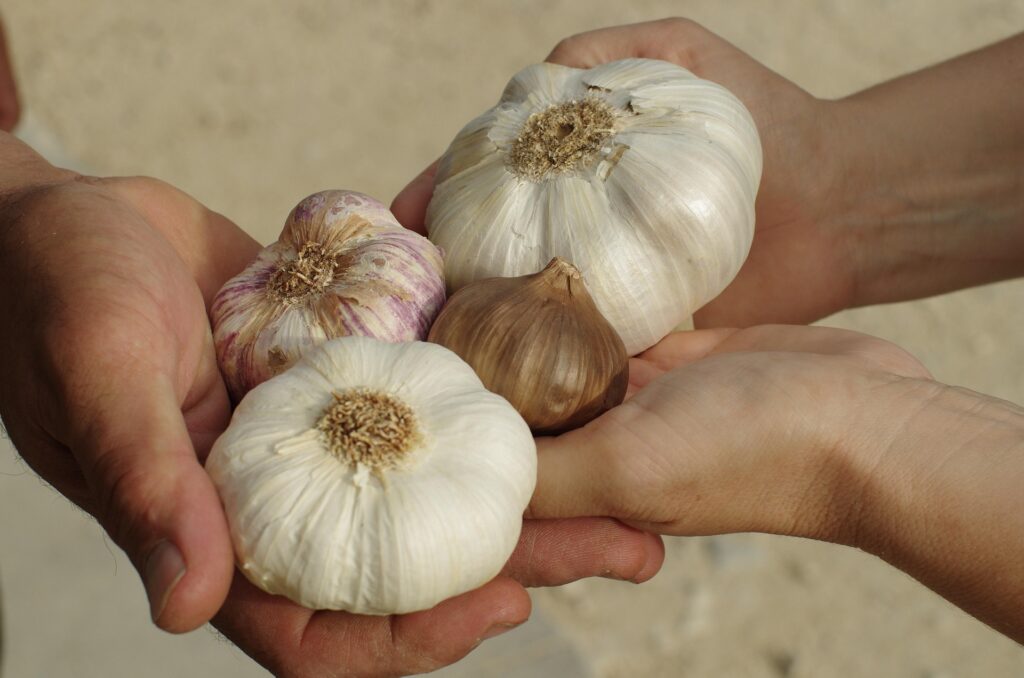
1.Separate the garlic bulb into individual cloves—be gentle! Keep the papery skin on each clove (this protects them from rot).
2.Discard any small, soft, or moldy cloves—only plant the plump, healthy ones (they’ll grow the biggest bulbs).
3.Plant each clove pointed end up (super important!) 2-3 inches deep. Space them 4-6 inches apart in rows (for raised beds) or 3-4 inches apart in containers (they can be a little closer in pots).
4.Cover the cloves with soil, then gently pat down to firm it (no need to pack it tight).
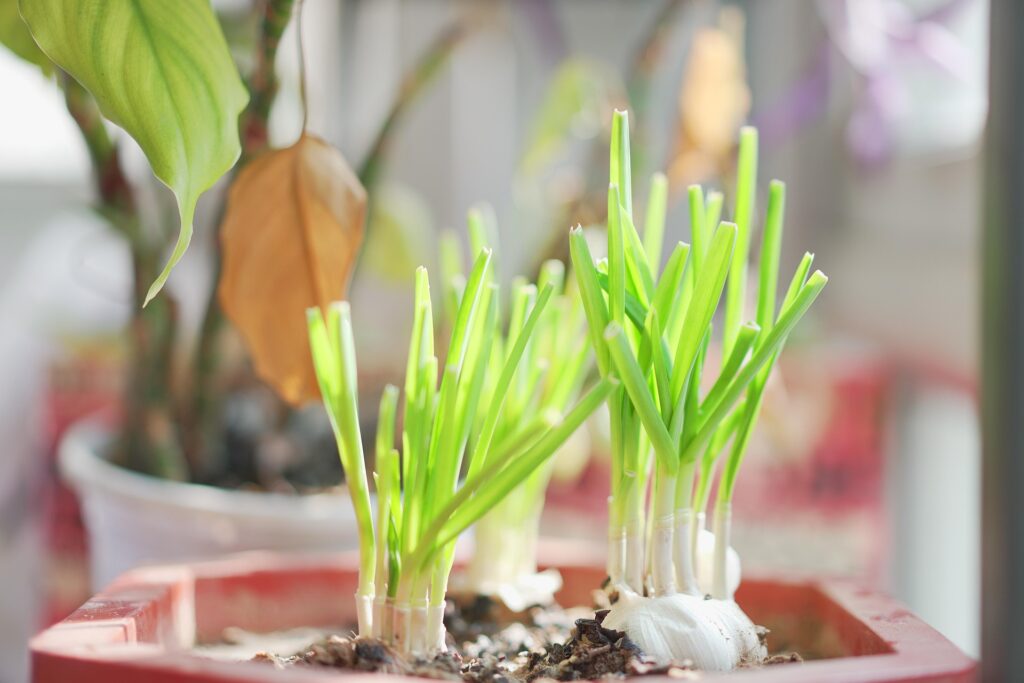
5.Water lightly to moisten the soil—don’t soak it! If you’re planting in fall, add a 2-inch layer of mulch (straw, leaves, or shredded bark) on top to protect the roots from freezing. Remove the mulch in spring when shoots start to pop up.
Growing Garlic: What to Do All Season Long
Once planted, garlic is pretty hands-off—but a little care goes a long way. Here’s what you need to do:
Watering:
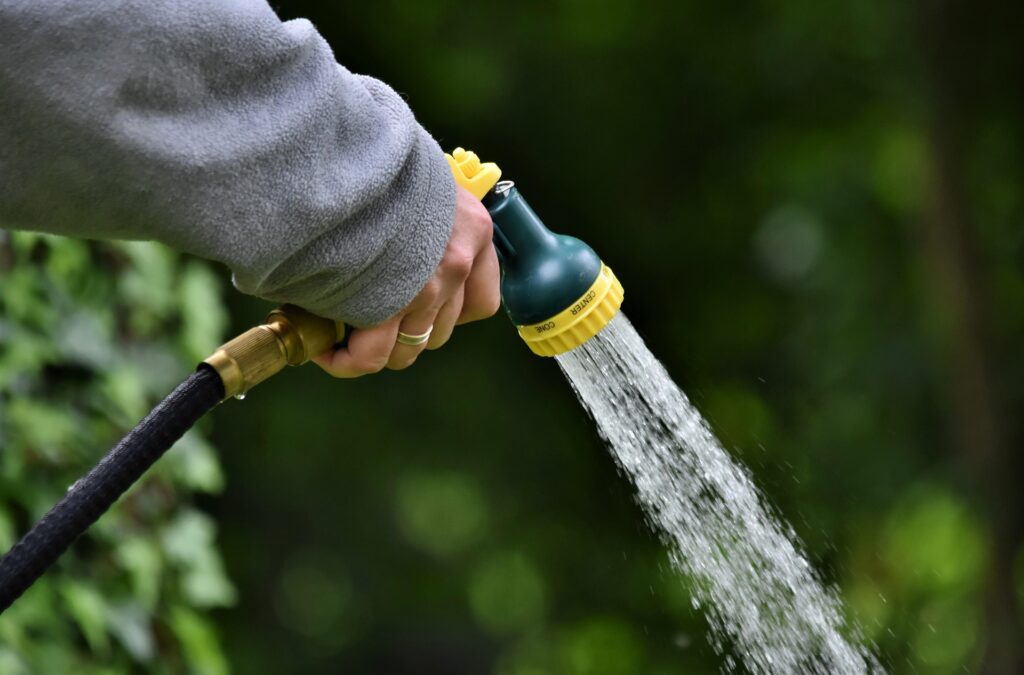
Keep the soil slightly moist, but never waterlogged. Water when the top 1-2 inches of soil feel dry. In spring, water more regularly (especially if it’s dry) as the garlic grows. Stop watering 2-3 weeks before harvesting—this helps the bulbs dry out and store better.
Fertilizing:
Garlic doesn’t need much fertilizer, but a little boost in spring helps. When shoots are 6-8 inches tall, add a light layer of compost around the plants, or use a balanced organic fertilizer (like 10-10-10) at half strength. Avoid high-nitrogen fertilizers—they’ll make the leaves grow too much and the bulbs too small.
Weeding:
Pull weeds gently around the garlic plants—weeds steal nutrients and water. Garlic has shallow roots, so be careful not to disturb them.
Snipping Scapes (For Hardneck Garlic!):
In late spring, hardneck garlic will grow a curly scape (the flower stalk). Snip it off when it’s 8-10 inches long and starts to curl—this tells the plant to put all its energy into growing the bulb instead of the flower. And don’t waste the scape! It tastes like mild garlic—chop it up for pesto, stir-fries, or scrambled eggs.
When & How to Harvest Garlic
Harvest time is the best part! Here’s how to tell when your garlic is ready:
For Garlic Scapes: As mentioned, snip when they’re 8-10 inches long and curly (usually late May to early June).
For Bulbs: When 50-75% of the leaves turn yellow and start to dry out (usually late July to August, depending on planting time). If you wait too long, the bulbs might split open.
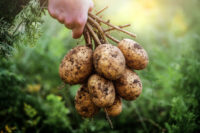
To harvest: Gently loosen the soil around the bulb with a garden fork (don’t yank it—you might break the stem!). Pull the bulb out, shake off excess soil, and leave the leaves attached. Hang the garlic in a dry, well-ventilated spot (like a garage or shed) for 2-3 weeks to cure. Once the leaves are completely dry, trim the roots and leaves, and brush off any remaining soil.
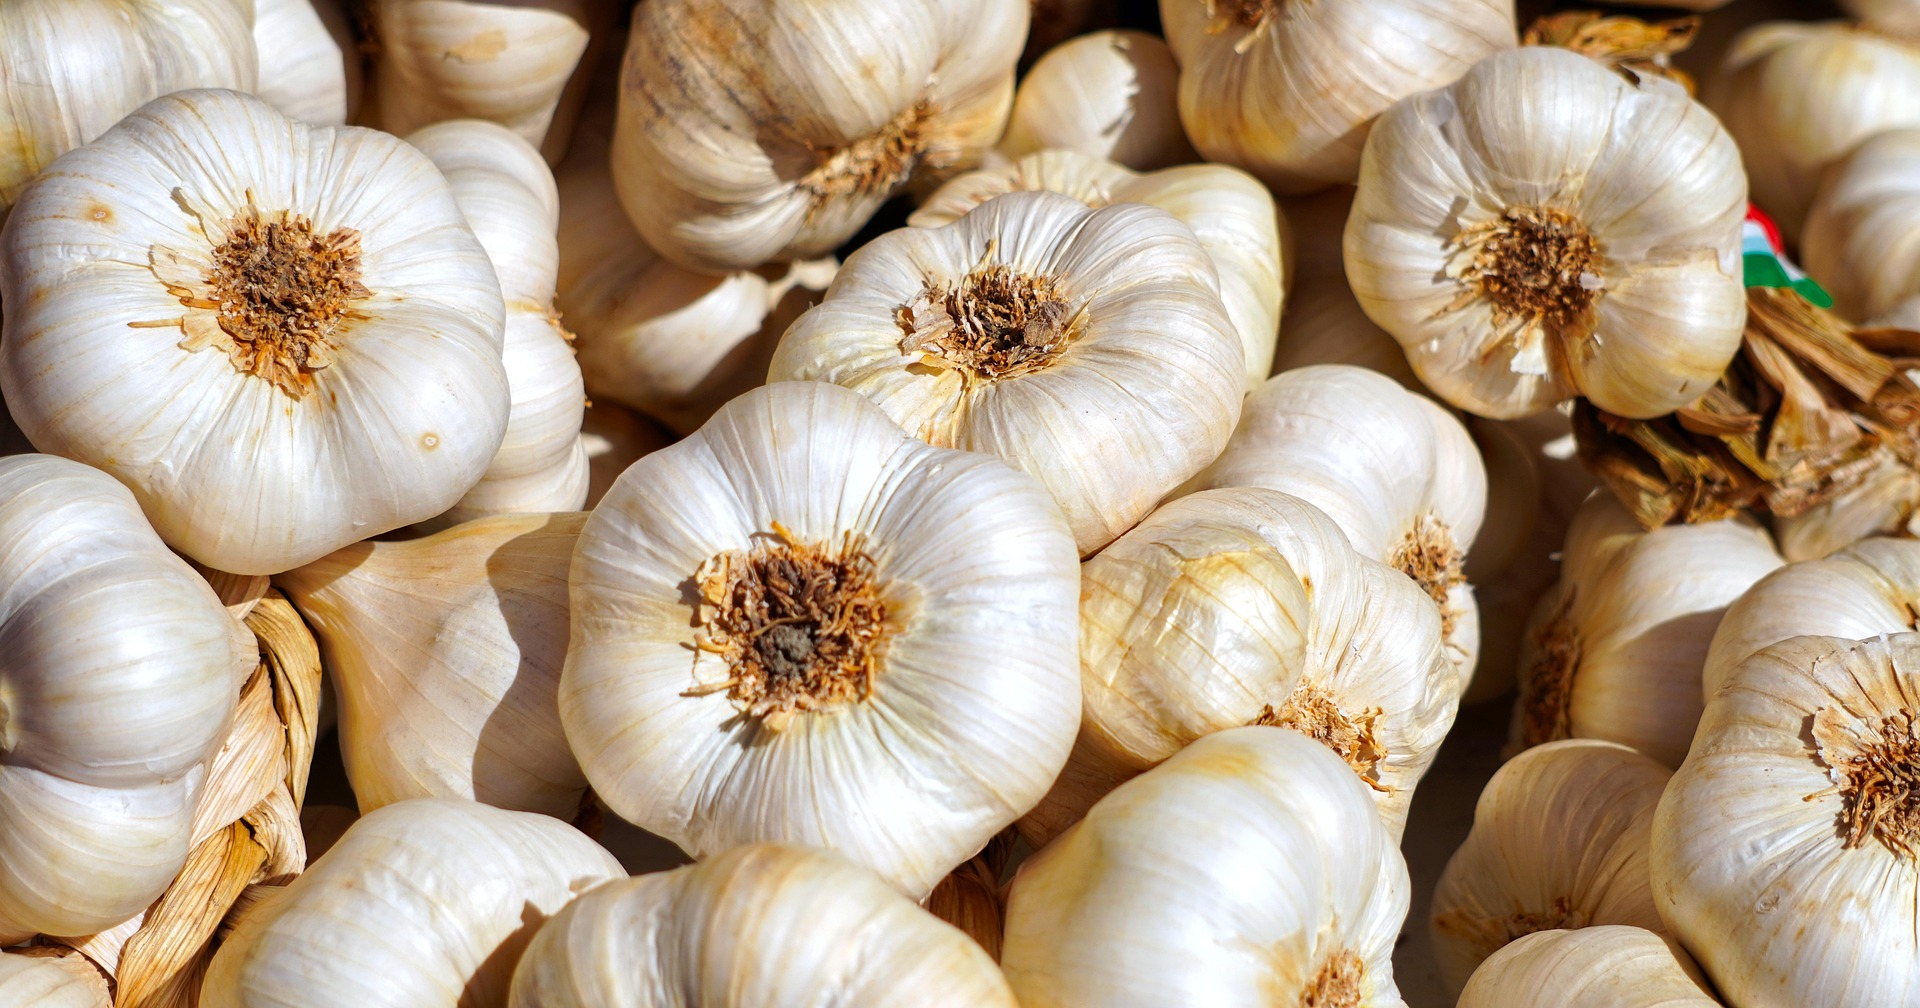
Storing Your Homegrown Garlic
Cured garlic stores beautifully! Keep it in a cool, dry, dark place (a pantry, cabinet, or mesh bag works great). Softneck garlic will store for 6-12 months; hardneck for 3-6 months. Avoid storing garlic in the fridge—it’ll get soft and bitter.
Final Tips for Success
Don’t plant garlic in the same spot two years in a row—this prevents diseases.
If you’re short on space, grow garlic in containers on your balcony or windowsill (just make sure they get enough sun).
Don’t stress! Garlic is forgiving—even if you make a mistake, you’ll probably still get bulbs.
Growing garlic at home is such a simple, satisfying project—even for total beginners. I hope this guide helps you feel confident to plant your own this season.If you try it, tag me in your photos—I’d love to see your garlic harvests! Do you have any garlic-growing tips of your own? Drop them in the comments below. Happy planting!