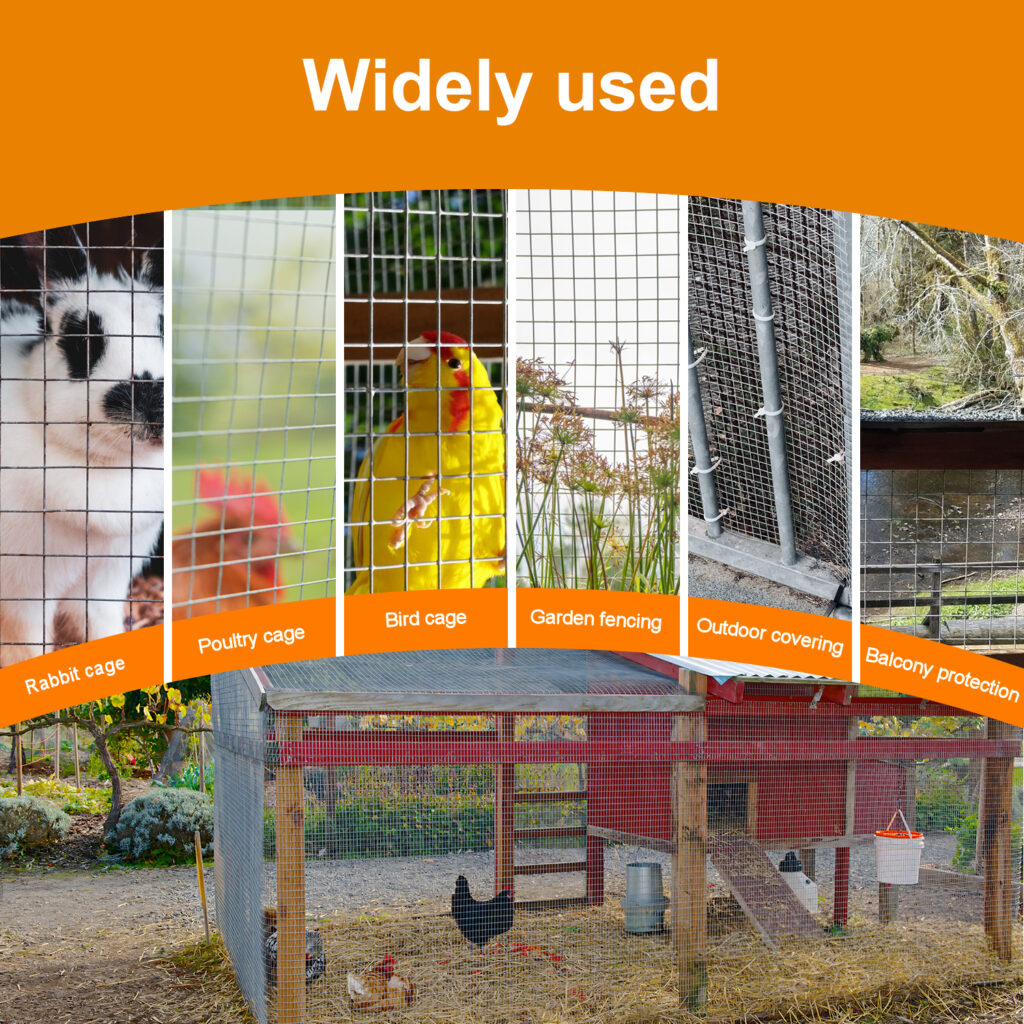
A safe garden fence doesn’t have to be expensive or complicated—and wire mesh is the perfect material to balance security, functionality, and creativity. Unlike pre-made fencing panels that lock you into a single style, wire mesh lets you DIY a custom solution that fits your garden’s shape, your safety needs, and even your personal aesthetic. Whether you’re protecting your plants from curious pests, keeping small pets contained, or adding a subtle boundary to your outdoor space, this step-by-step guide will walk you through building a sturdy, safe wire mesh garden fence—no professional skills required.
1. Choose the Right Wire Mesh (Professional Tips for Safety & Versatility)
The key to a safe, long-lasting fence starts with picking the right wire mesh—and it all depends on your primary goal. For DIY flexibility, look for lightweight yet durable materials that are easy to cut and manipulate:
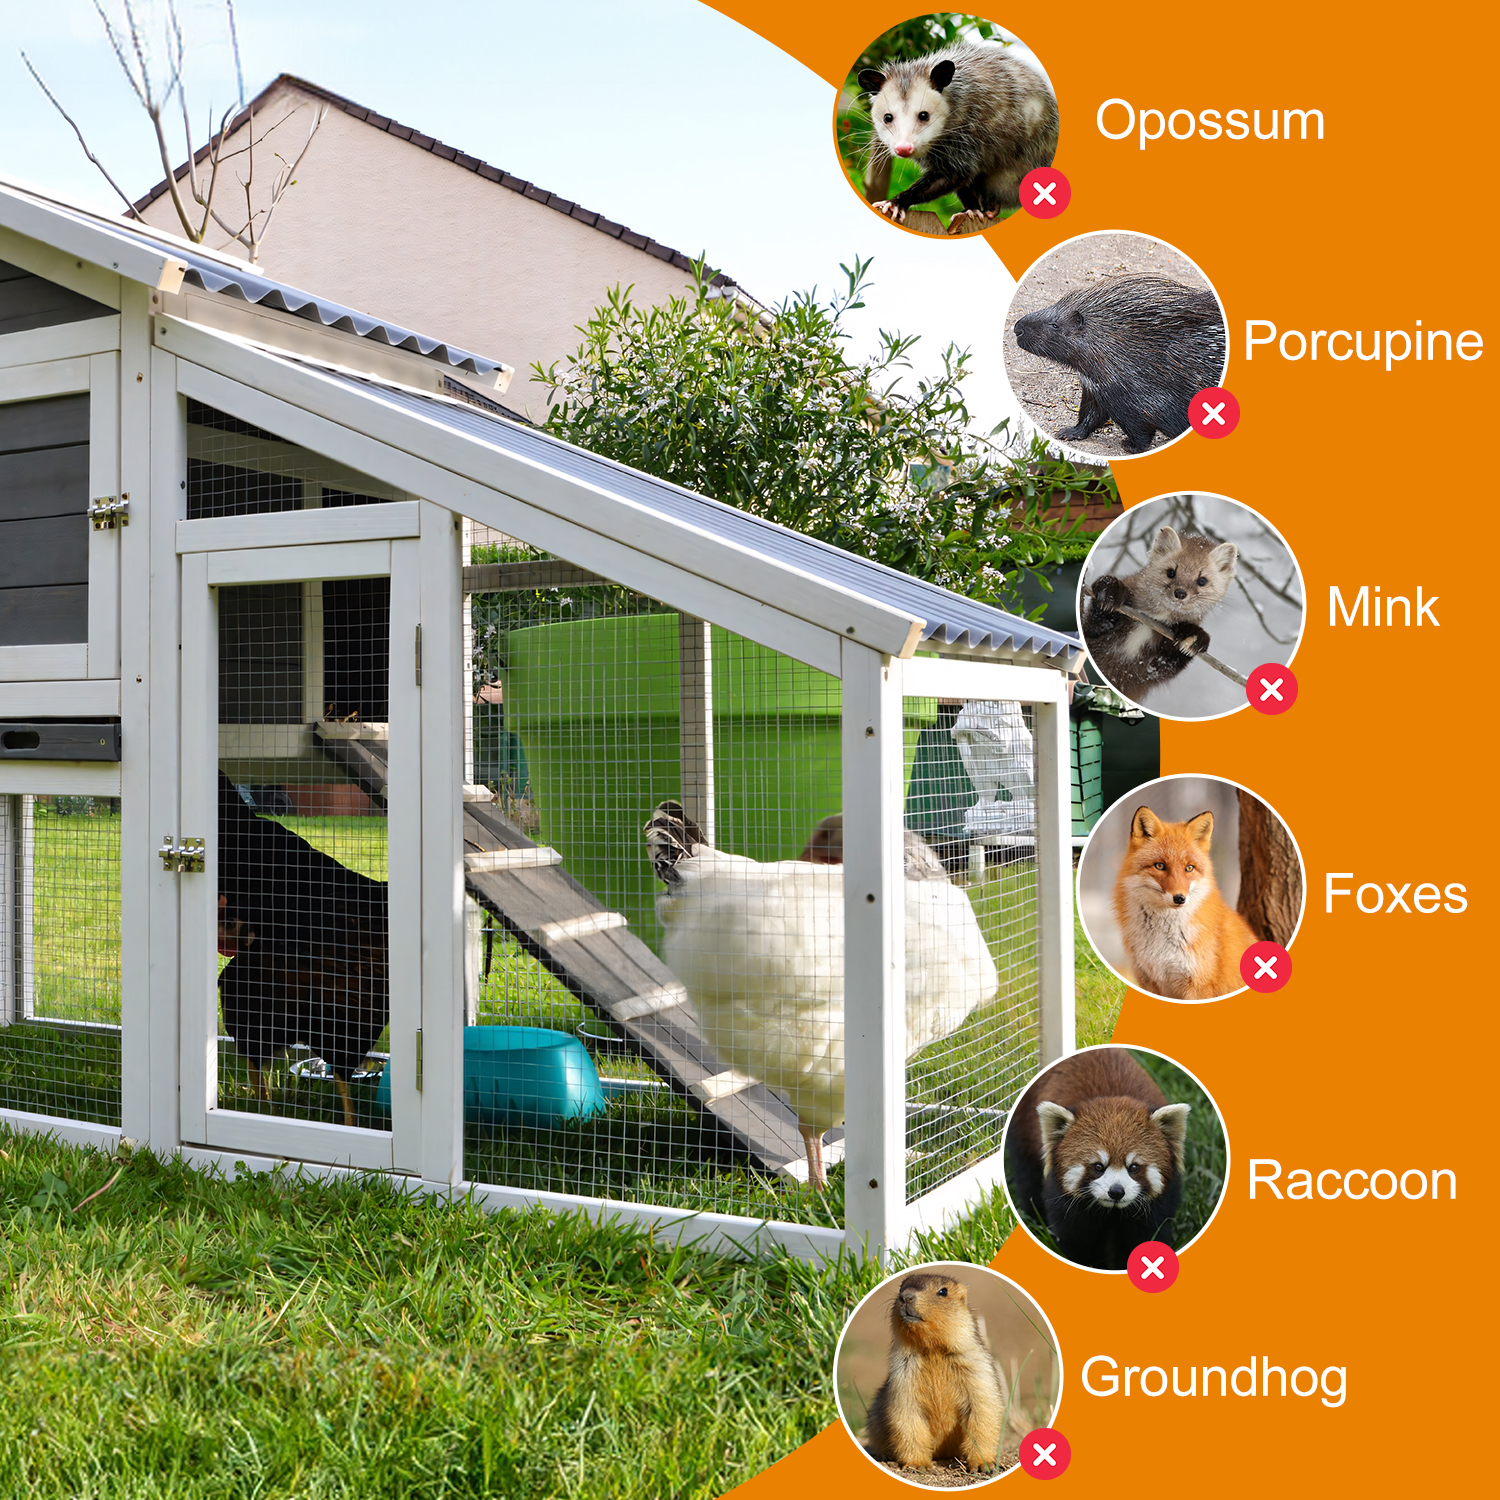
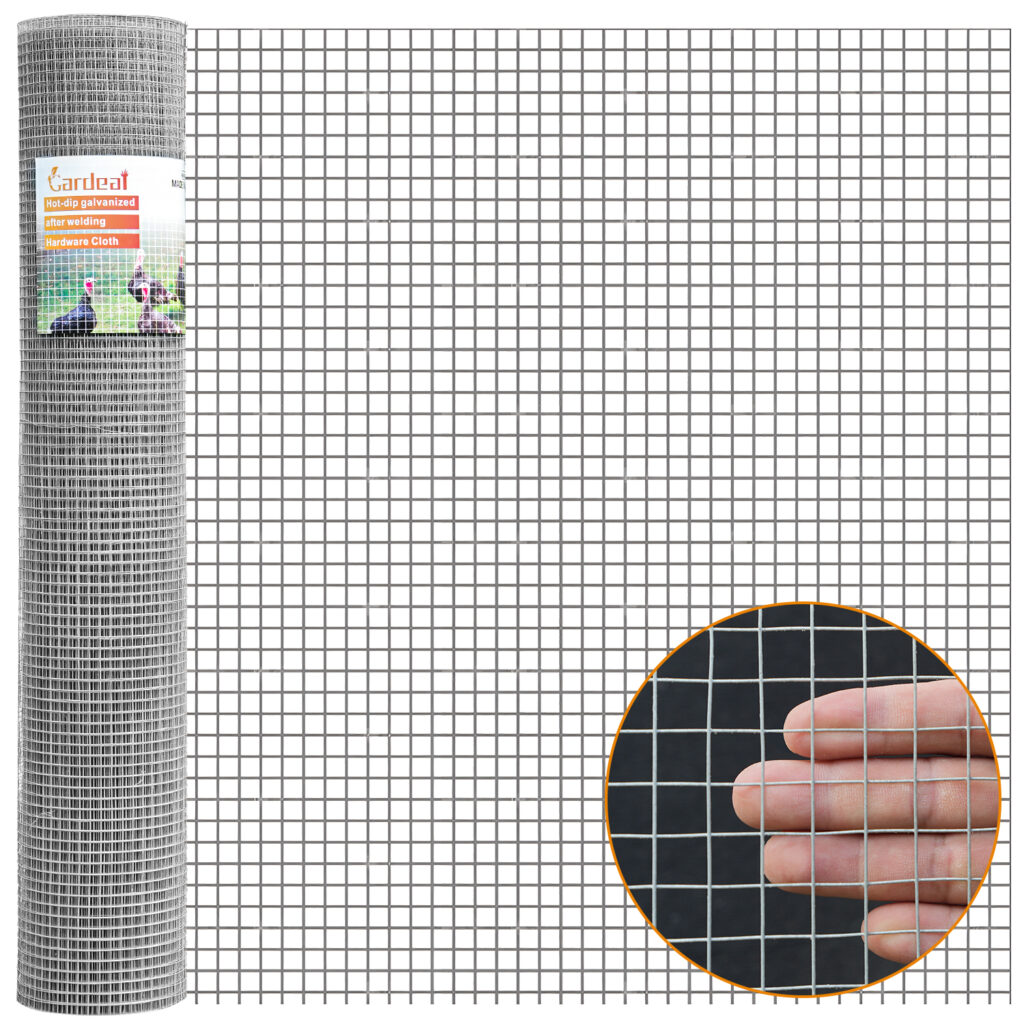
- Galvanized Steel Mesh: Best for overall safety and durability. It resists rust, stands up to harsh weather, and is strong enough to deter small animals and prevent accidental falls (ideal if you have kids or pets). Opt for a 1/2-inch to 1-inch mesh size—small enough to keep out rodents and birds, but large enough to keep the fence looking open and unobtrusive.
- PVC-Coated Wire Mesh: Perfect if you want to add a pop of color or match your garden’s decor. The PVC coating adds extra rust protection and is soft to the touch (safer for kids and pets), and it’s just as easy to cut and shape as uncoated mesh.
- Welded Wire Mesh: Great for stability. Unlike woven mesh, welded panels are rigid but still flexible enough to follow curved garden edges—ideal for DIYers who want a fence that’s both sturdy and customizable.
Pro Tip: Avoid mesh with sharp edges (look for rounded wire ends) to keep your fence safe for little hands and paws. Most DIY-friendly mesh comes pre-cut in rolls, so you can buy exactly the length you need—no waste, no extra work.
2. DIY Prep: Tools & Measurements (Simple, No Fancy Gear)
The best part about a wire mesh fence is that you don’t need expensive tools to get started. Gather these basic supplies, and you’ll be ready to build:
- Wire mesh roll (choose your material/size)
- Fence posts (wood or metal—wood is more DIY-friendly, metal is more durable)
- Tape measure, level, and string line (for straight or curved lines)
- Wire cutters (heavy-duty for steel mesh) and pliers
- Fasteners: Zip ties, U-clamps, or staples (zip ties are easiest for DIY and let you adjust the mesh later)
- Post hole digger (or a shovel, for smaller gardens)
First, measure your garden’s perimeter—add 1-2 feet extra to account for any curves or adjustments. Use the string line to mark where your fence will go; this keeps your posts aligned, but feel free to deviate if you want a curved fence (wire mesh bends easily to follow natural garden shapes).
3. Step-by-Step Installation (DIY-Friendly, Flexible for Any Garden)
Installing your wire mesh fence is straightforward, and you can adjust each step to fit your space—no rigid rules, just safe, sturdy results.
Step 1: Set the Fence Posts
Dig post holes 2-3 feet deep (deeper if you live in an area with frost) and 6-8 feet apart. Place a post in each hole, use a level to make sure it’s straight, then fill the hole with soil or concrete (concrete is more stable, but soil works for smaller, temporary fences). Let the concrete set for 24 hours if using.
Step 2: Attach the Wire Mesh
Unroll the wire mesh along the post line, making sure it’s taut (but not too tight—you want a little give to avoid tearing). Use your fasteners to attach the mesh to the posts: zip ties work great for quick, adjustable installation, while U-clamps are better for a more permanent hold. Cut the mesh to length with wire cutters when you reach the end of the perimeter.
Pro DIY Tip: If you want a taller fence, overlap two rolls of mesh by 6 inches and fasten them together—no need to buy custom-length panels. For a curved garden, gently bend the mesh around the posts as you attach it; it will hold its shape without breaking.
Step 3: Secure the Bottom (Critical for Safety)
To keep pests out and prevent tripping hazards, bury the bottom 6-8 inches of the mesh in the soil, or attach it to a wooden bottom rail. This stops small animals from digging under the fence and ensures the fence stays stable in windy weather.
4. DIY Customization: Make It Your Own
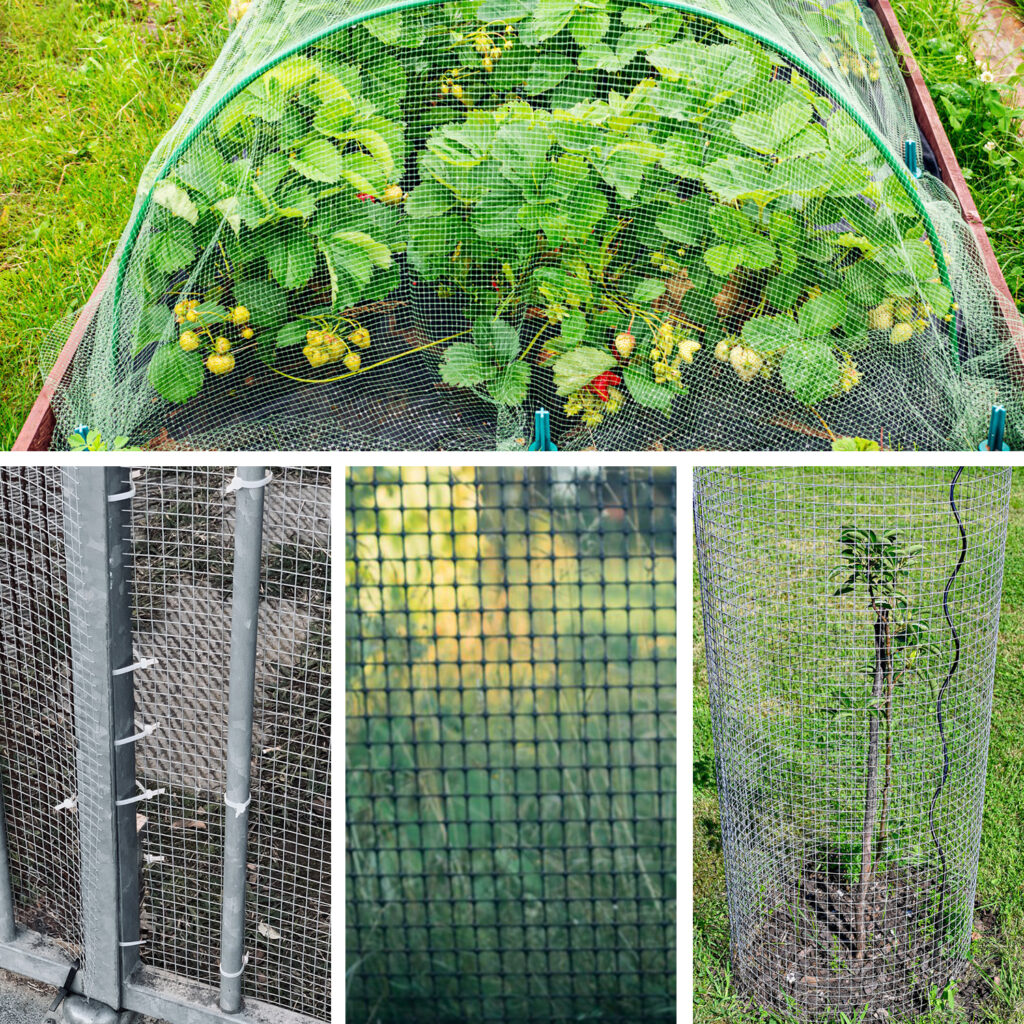
Wire mesh’s biggest advantage is its versatility—you can easily dress it up or tweak it to match your garden’s style, no professional help needed:
- Paint the mesh: Use outdoor paint to match your house, garden furniture, or add a bold accent color (PVC-coated mesh can also be painted for extra customization).
- Add decorations: Attach hanging planters, fairy lights, or metal art to the mesh for a whimsical touch.
- Adjust the height: Cut the mesh shorter for a low boundary fence, or stack rolls for a taller, more secure barrier.
- Mix materials: Pair wire mesh with wooden posts and rails for a rustic look, or with metal posts for a modern vibe.
5. Maintenance Tips (Keep It Safe & Looking Great)
A well-maintained wire mesh fence will last for years. Every 6-12 months, check for rust (especially on uncoated steel) and touch up with rust-resistant paint. Tighten any loose fasteners, and trim any plants growing through the mesh to prevent tearing. If you need to adjust the fence (e.g., expand your garden), simply cut the zip ties, reposition the mesh, and reattach—easy DIY flexibility at its best.
Final Thought: Building a safe garden fence with wire mesh is all about simplicity and customization. It’s affordable, easy to install, and lets you create a fence that fits YOUR garden—not the other way around. Whether you’re a beginner DIYer or a seasoned gardener, this project is achievable in a weekend, and the result will be a safe, functional fence that adds charm to your outdoor space.