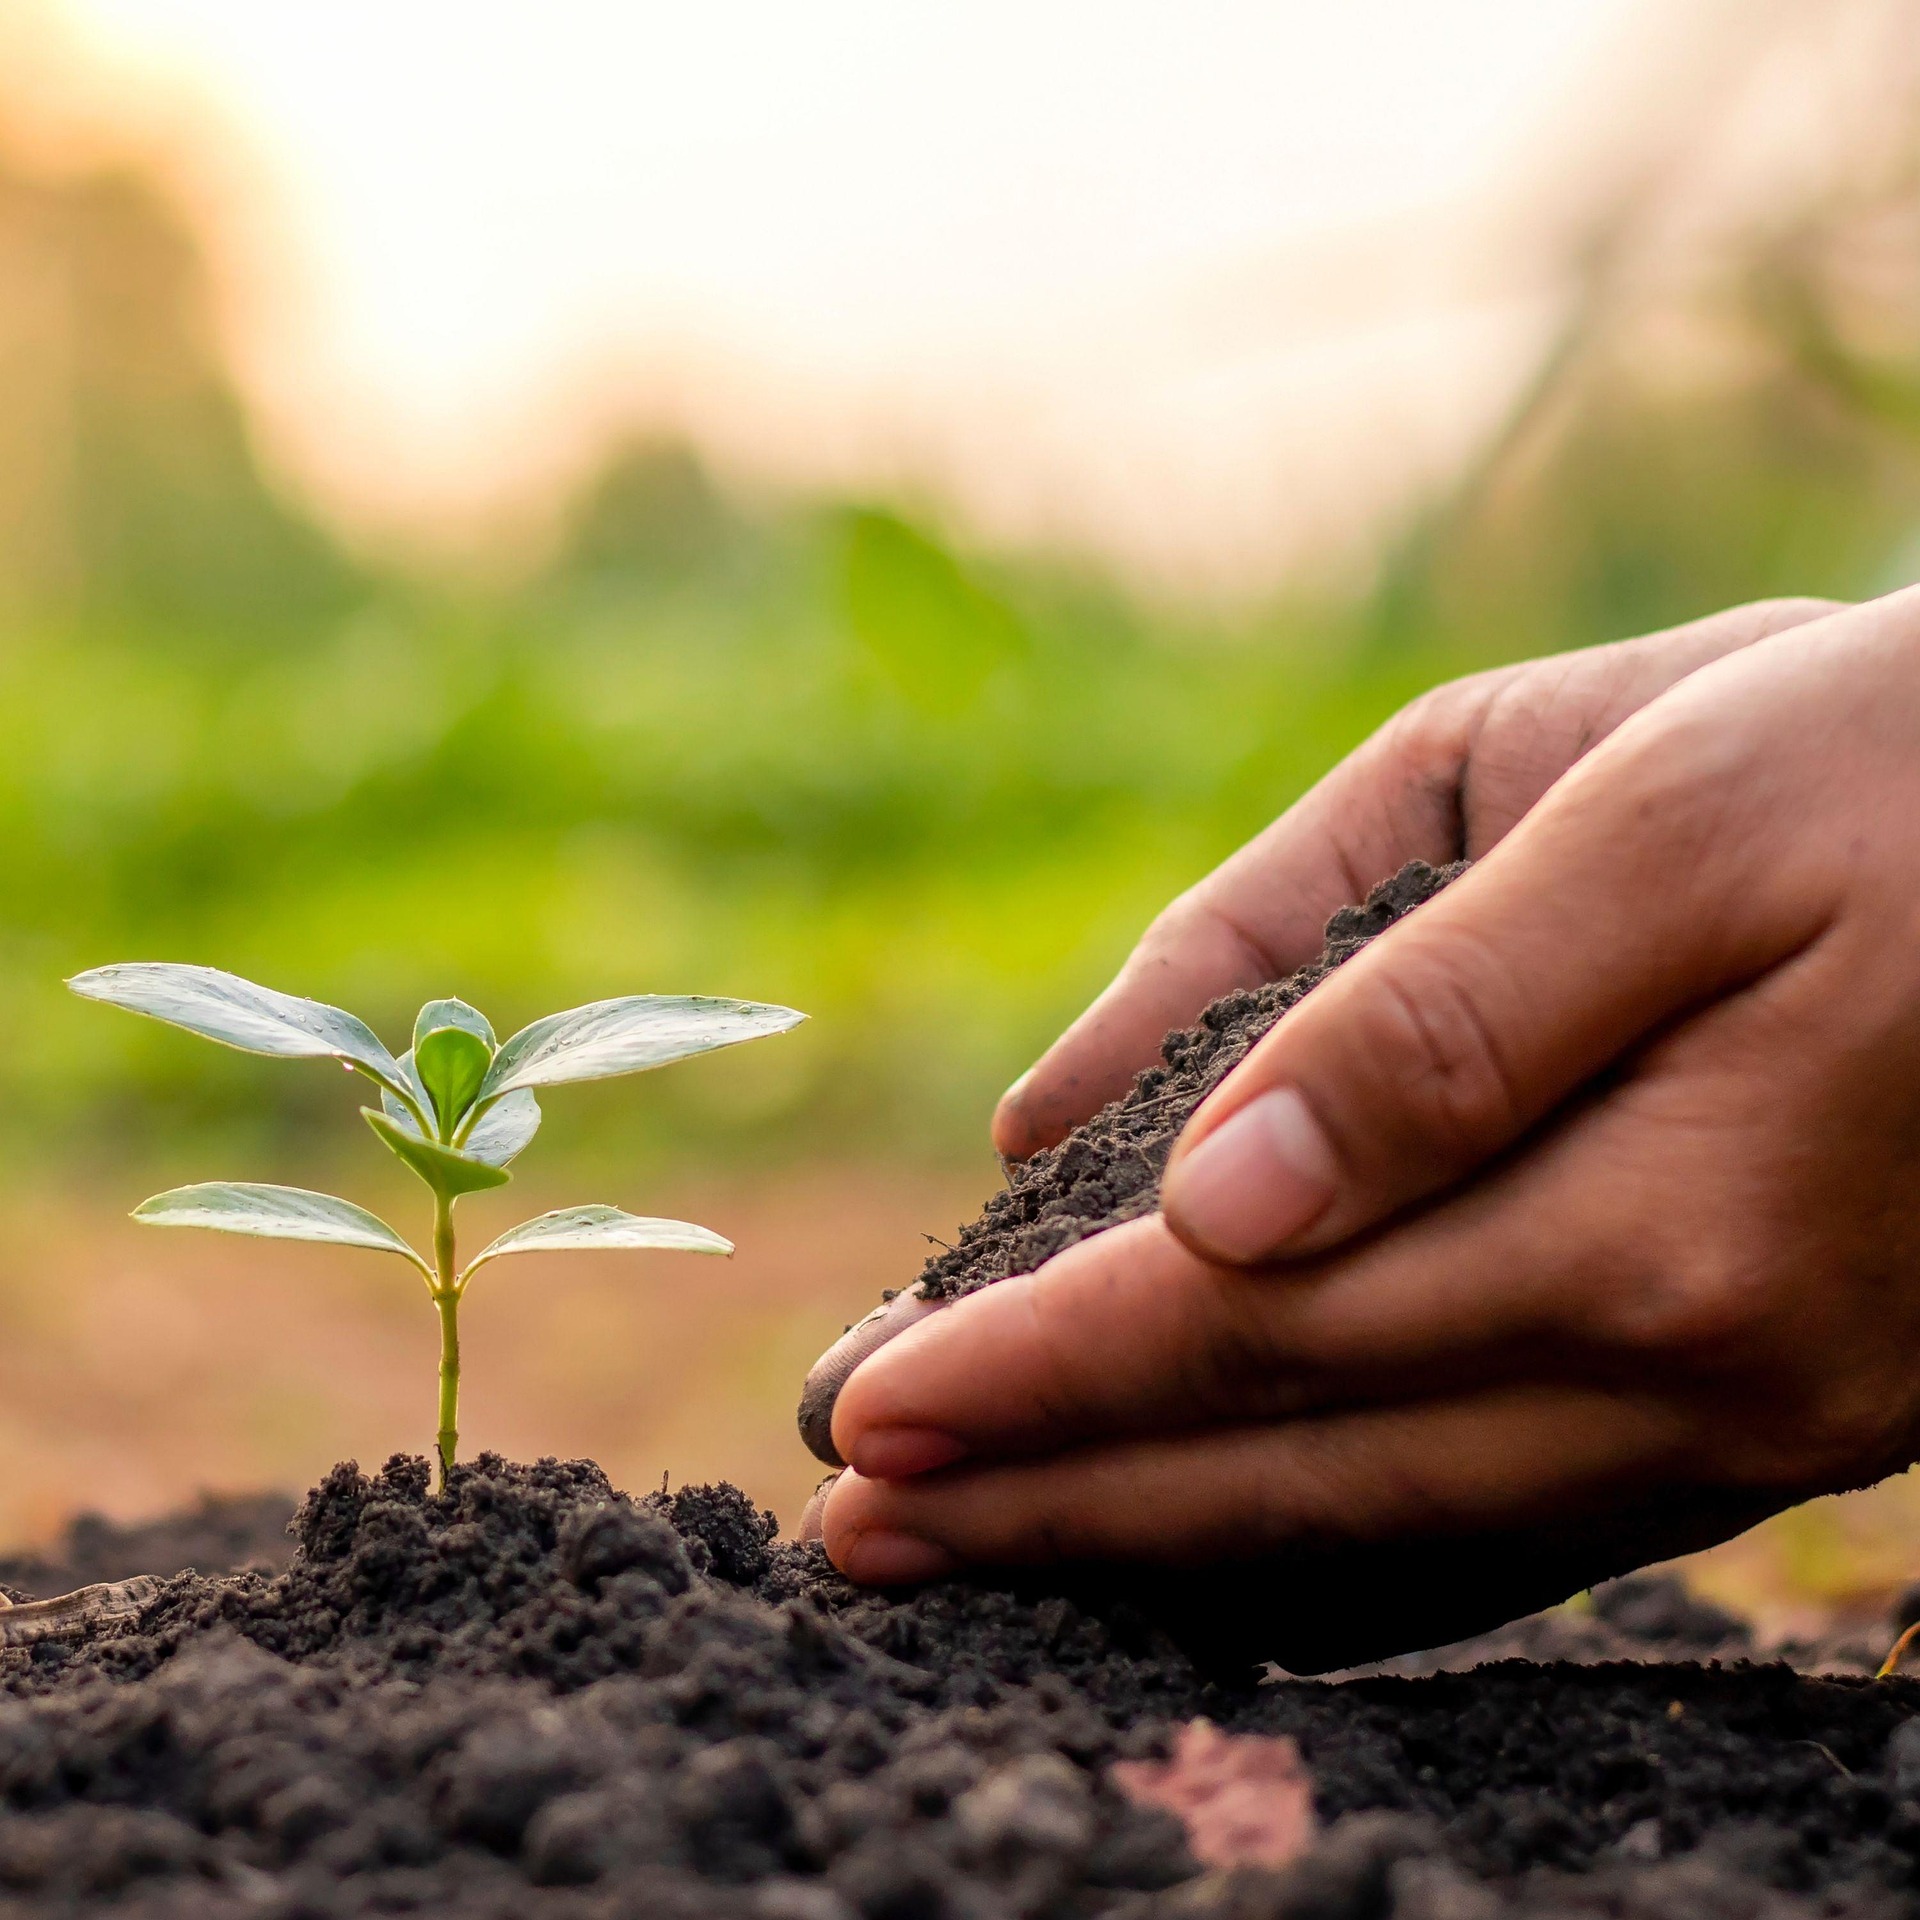
A thriving vegetable garden starts with healthy soil—it’s the foundation for strong roots, nutrient uptake, and bountiful harvests. Whether you’re a seasoned gardener or just starting out, taking the time to test, amend, and till your soil properly will set your plants up for success. Below is a straightforward guide tailored to home gardeners, with tips that work for most climates and vegetable varieties.
1. Soil Testing: Know What You’re Working With
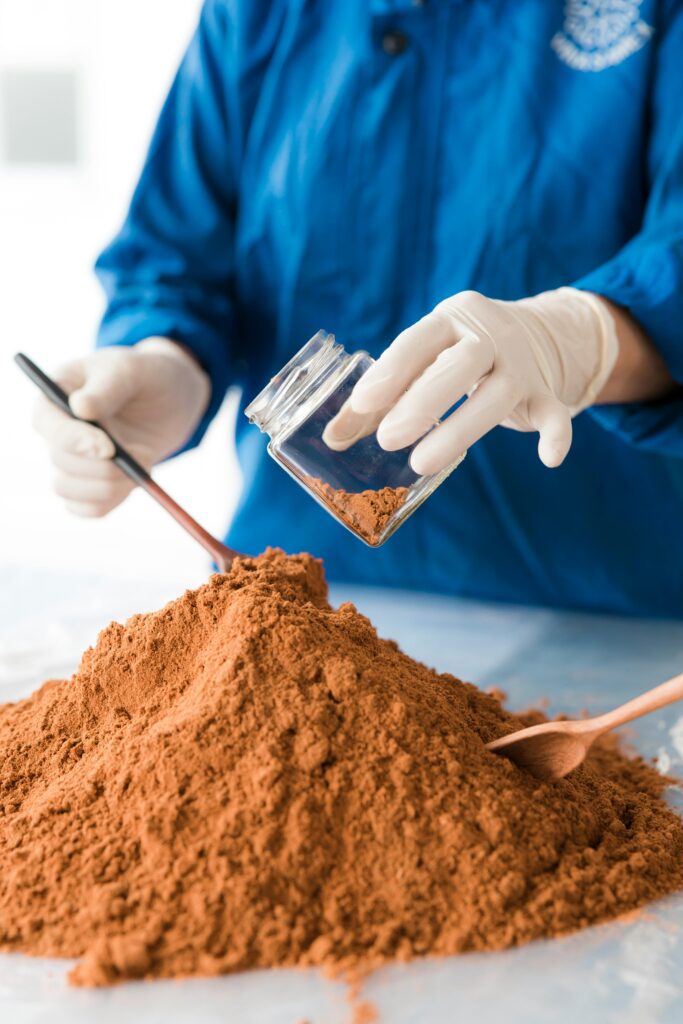
Before making any changes, test your soil to understand its pH level and nutrient content. This avoids guesswork and ensures you only add what your soil needs—saving time and money.
- pH Level Check: Most vegetables prefer a slightly acidic to neutral pH (6.0–7.0). Use a home soil pH test kit (easily found at garden centers) or send a sample to a professional lab for more detailed results. If pH is too low (acidic), add lime to raise it; if too high (alkaline), sulfur will lower it. Follow product instructions for application rates—overdoing it can harm plants.
- Texture & Drainage Test: Grab a handful of moist soil and squeeze it. If it forms a tight clump that won’t break easily, it’s heavy in clay; if it falls apart immediately, it’s sandy; ideal loam soil holds shape briefly then crumbles. Clay drains poorly, while sand dries out too fast—both need adjustments.
- Nutrient Testing: Professional lab tests (or advanced home kits) reveal levels of nitrogen (N), phosphorus (P), and potassium (K)—key nutrients for vegetables. Labs often provide custom amendment recommendations.
2. Soil Amending: Boost Fertility & Structure
Amending improves soil structure, drainage, and nutrient availability. Focus on organic matter—its benefits (feeding soil microbes, retaining moisture) far outweigh synthetic additives for long-term garden health.
- For Clay Soil: Add coarse compost, well-rotted manure, or perlite to loosen compacted earth and improve drainage. Aim for a 2–3 inch layer mixed into the top 6–8 inches of soil. Avoid sand alone—it can create a concrete-like texture.
- For Sandy Soil: Mix in fine compost, leaf mold, or aged manure to increase water retention and nutrient hold. These organic materials act like a sponge, keeping roots hydrated without waterlogging.
- For Loam Soil (Ideal): Even loam benefits from a 1–2 inch layer of compost annually to replenish nutrients used by previous crops.
- General Tip: Spread amendments evenly over the garden bed and mix thoroughly. Avoid fresh manure—its high nitrogen content can burn plants; opt for aged manure (composted for 6+ months).
3. Soil Tilling: Loosen & Integrate
Tilling breaks up compacted soil, mixes amendments evenly, and creates a loose bed for seeds and transplants. Timing and depth are critical—over-tilling can damage soil structure.
- When to Till: Till when soil is moist but not wet. If it sticks to your tools, wait for it to dry slightly—wet tilling compacts soil further. Early spring (before planting) or fall (after harvest) are best times.
- Depth Guidelines: For most vegetables, till 6–8 inches deep. Root crops (carrots, beets) may need 8–10 inches to grow straight. Avoid tilling deeper than 12 inches, as this disrupts the soil’s natural layers and beneficial microbes.
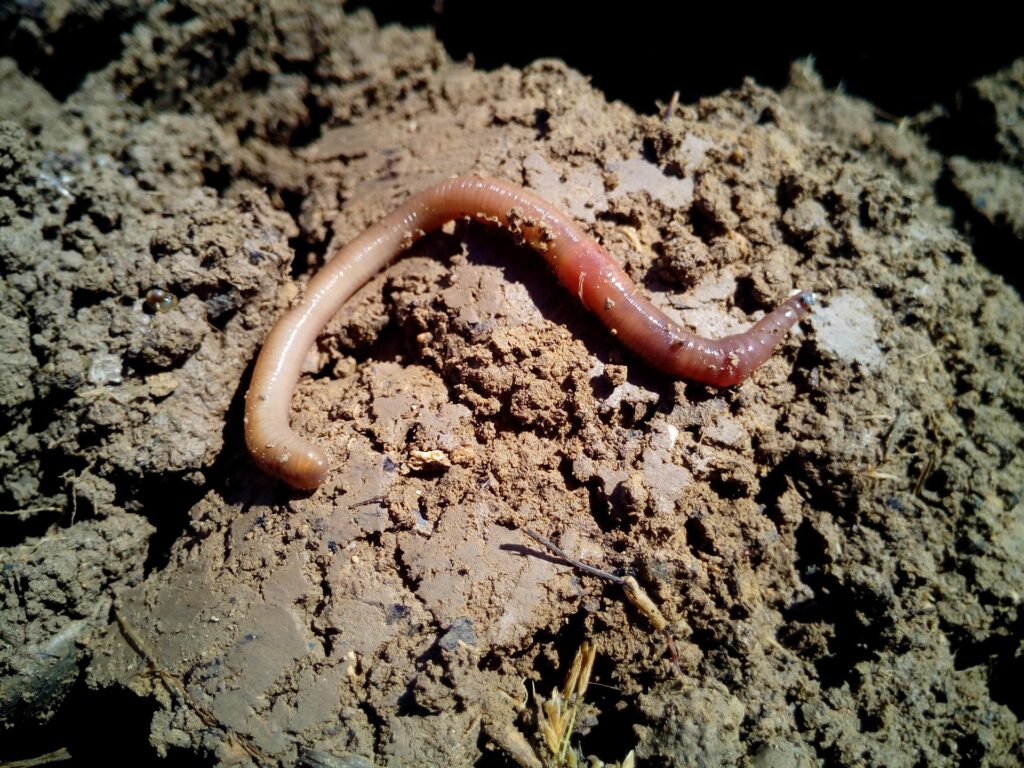
- Tools to Use: Small beds can be tilled with a garden fork or hoe; larger areas may require a rototiller. For no-dig gardening (a popular low-impact method), skip tilling—layer amendments on top and let earthworms mix them into the soil over time.
Final Tip: Let Soil Settle
After tilling and amending, water the bed lightly and let it settle for 7–10 days before planting. This allows soil particles to reorient, reducing air pockets that can dry out roots. It also gives organic amendments a head start on breaking down, releasing nutrients for your vegetables.
Healthy soil is a garden’s best asset. By testing first, amending wisely, and tilling carefully, you’ll create an environment where vegetables thrive—from seedlings to harvest. Happy gardening!